If you enjoyed my lap joint box kit and want to learn more skills this is an ideal next step. Also suitable for those who have done classes with me before, such as my joinery class, and want something sweet to make.
I hijacked the kitchen for a solid 11 days of measuring, cutting, chiselling, and sanding, before 2 slow days waiting for coats of Osmo to dry and now my tray is done!
I think you did a tremendous job with the videos. Bravo! They were easy to follow and full of great advice. The new set-up with 2x cameras really helped too, as that extra angle and detail fleshed out what you were describing.
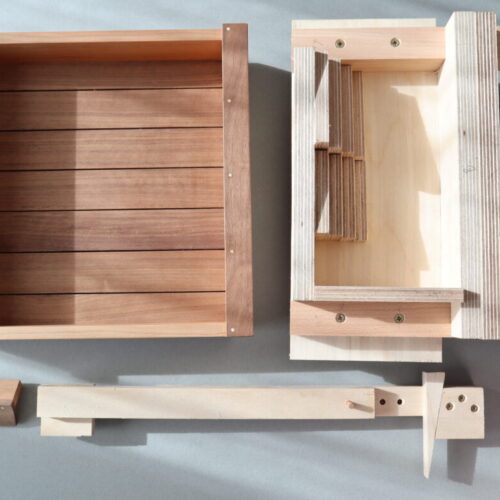
I went a little off-piste after feeling overly confident by the success of my dovetails, and decided to mount the handles by way of a strange dovetail too.
Thanks for the great project kit and for the videos. It was so much fun to do, and I look forward to whatever the next kit will be.
And to think I never thought I’d be able to make a dovetail joint…
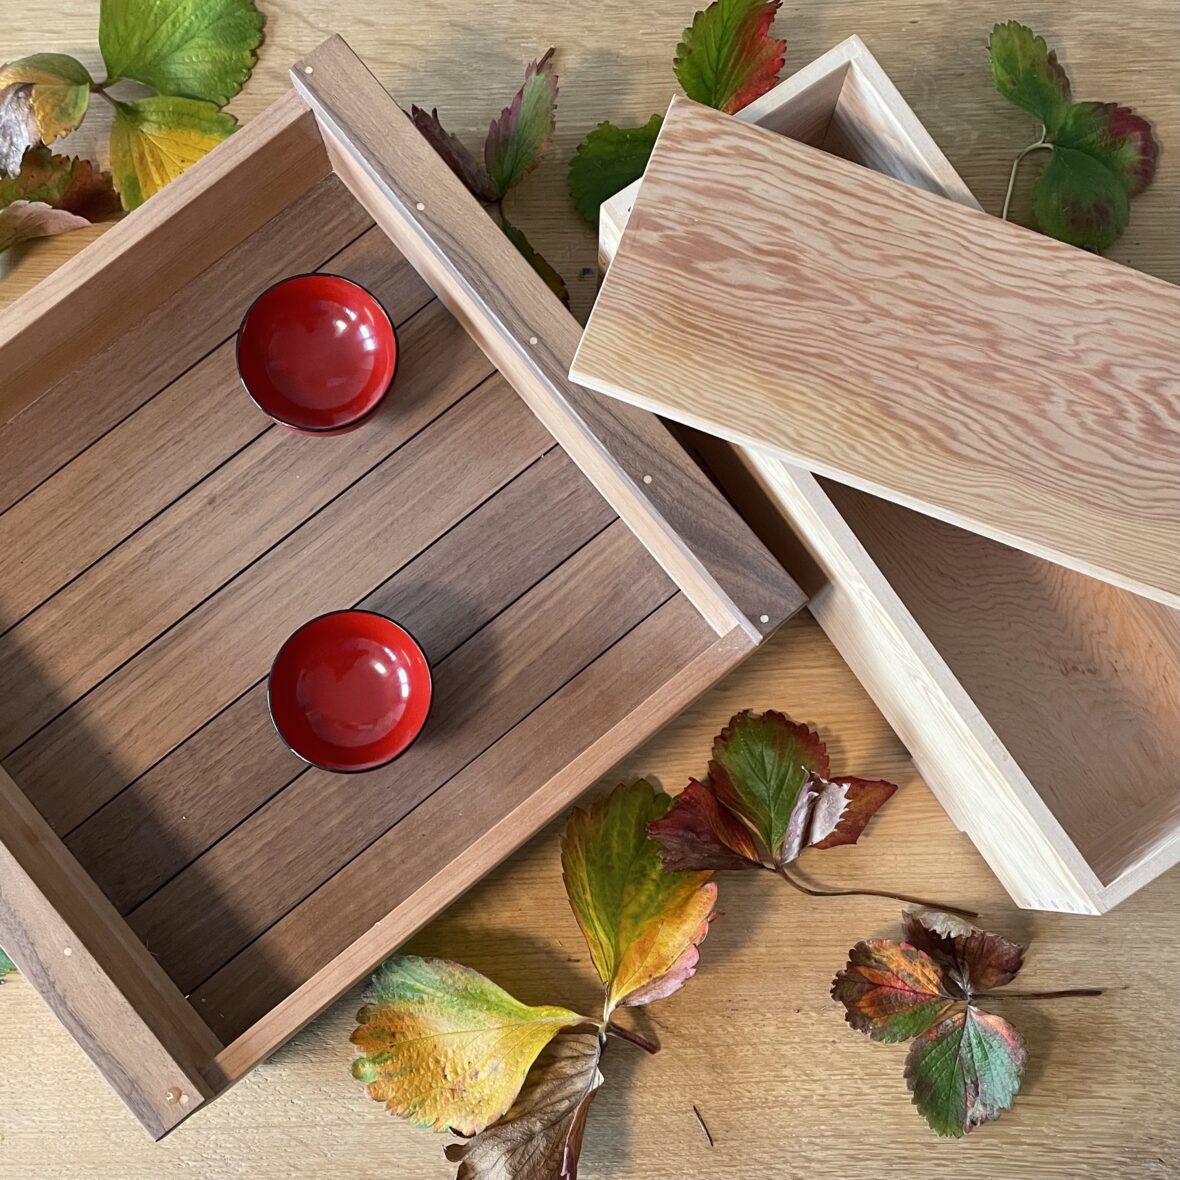
What a marvellous project this is, with lots of different techniques involved, and you end up not only with a lovely tray (splendid choice of woods) but also a pair of clamps, a very handy vice and a dovetail marker.
The video instructions are exemplary as ever (with added cute baby, banjo interlude and even instructions on how to eat an ice-lolly) and they make each step easy to follow. It is particularly good to know that when the project arrives it contains everything you need, in particular the high quality wood – something that is not always easy to obtain especially in small quantities.
Not that I’m hoping for lockdown to continue any longer than it has to but if it does, any chance of another project?
I would not hesitate to strongly recommend both kits to anyone. Even dovetail novices like me.
Thanks again, Tom.
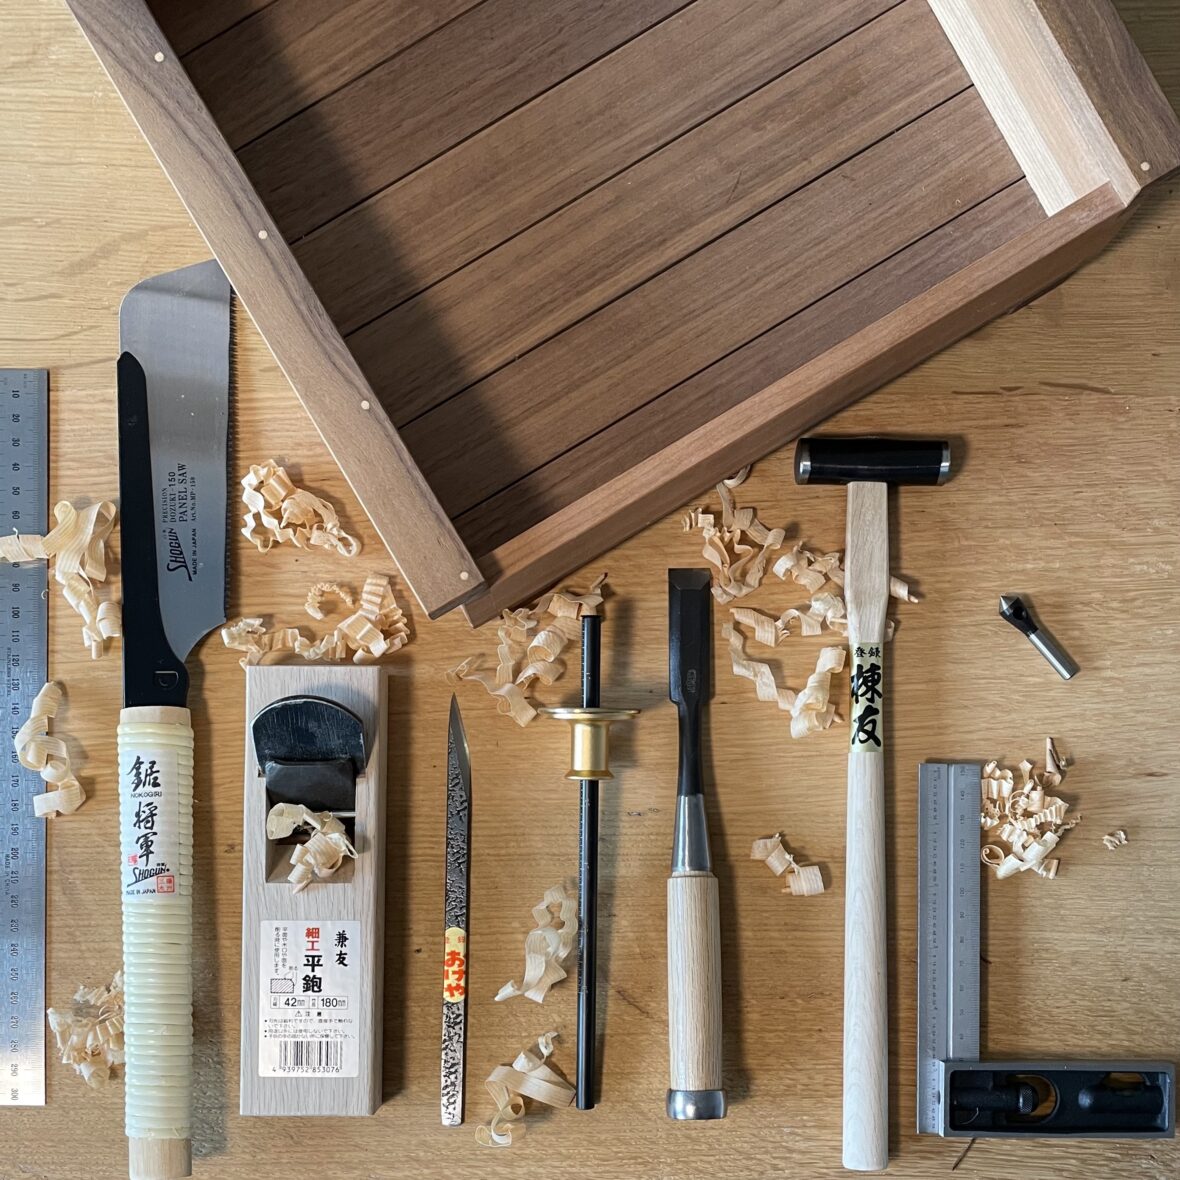
You can get all the tools for this project that are mentioned here in my tool shop. If you have done the lap joint box kit then you probably already have most of the tools required. If you don't have any tools yet then my recommended tool set 2, plus Titebond glue and a small Japanese plane will set you up perfectly.
If you've done the lap joint box kit, you might already have:
- 18mm or 24mm wide chisel. This must be sharp - either size will work with this kit.
- Small saw. With fine teeth and stiffening spine, such as a small dozuki.
- Japanese marking knife or Stanley knife.
- Small hammer. Somewhere around 115-200 grams like any of the ones I sell.
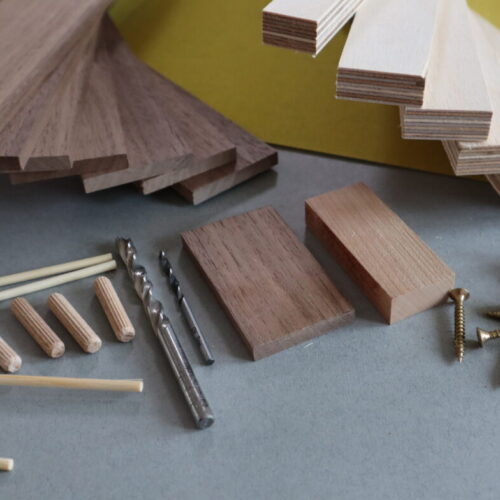
- Cordless drill. I will send you the correct drill bits with your kit.
- Countersink. Snail type, 10mm diameter (though you can use a different one).
- Screwdriver. The screws supplied need a Pozidrive size two screwdriver (or screwdriver bit and holder to go in your drill).
- Wood glue. Titebond 3 - I've been using it for years, it always works and it dries the same colour as the wood. If you can't get it, any kind of PVA will work.
- Bench hook. If you need one, a kit is available on the tray kit page on my website.
You will definitely also need:
- An awl. For easy marking of accurate points to drill, I've imported just the right one from Japan for you.
- Marking gauge. Wheel type or traditional cutting gauge (with a blade not a pin) again I've sourced a nice one for you.
- Ruler 300mm long. There is lots of accurate measuring needed so a decent ruler makes life easy.
- 200mm capacity clamps, four of them.
- Oil for finishing. I used Osmo brand clear matt oil. You'll also want meths for wiping down and a couple of new 25mm paint brushes. The "raw finish" oil used for the box is not suitable as it makes walnut look murky.
Nice to have, but not essential:
- Small plane. A block plane or small Japanese plane 150 or 180mm size. Used for levelling and trimming the tray sides and base slats. And adding shaping to the handle if you fancy that. A great opportunity to learn how to use it.
- Flush-cut saw for trimming stuff-though its easy enough to remove the blade from your dozuki and use that.
- Tool roll or box to keep your tools in good condition.
- Mallet - either a small wooden one (such as the one made in my joinery class) or a 400 gram Japanese plastic faced one.
.
Let me know how you got on with your dovetail tray kit here. I love hearing how it went, the sheer wood-based
adventure of it, the shavings everywhere and mistakes narrowly avoided and overcome.